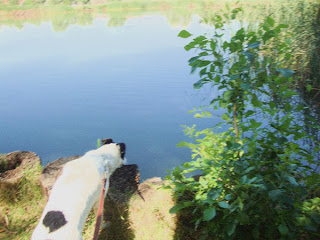
For this picture I wanted to create something that had a good flow of colors, almost like a story book (for example). I also wanted to create an up-beat theme to my picture. So to bring it together I basically used the "Water Tile" filter on my
photoshop to give it more of a cartoon look. Afterward I cropped out a bit of the left corner to bring the focus more to the dog & what I wanted as a look.

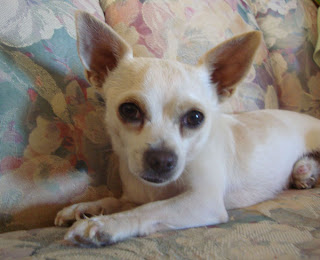
For this picture I just wanted to make it simple to match my style. I really liked the colors in the background too because they were light in color and the dog was also. Using
Photoshop Elements 6, I started off with softening portions around his head to add not so much of a roughness to the picture. To make the soft area I used the "Blur Tool" to a certain amount. Then afterward I scaled the picture and saved it to my computer in
jpg format.

For this picture wanted to create a comic book like look. I also thought that giving it an outline would give in more of a
edgier look than the
original soft look it had. I really wanted it to reflect more of a good mood to it also. For bringing this picture together I used GIMP instead of
Photoshop Elements 6. To start off with I went to Filters, clicked cartoon, then selected cartoon, then
adjusted the settings then I finished that part. Afterward I applied the Van
Gogh effect under Map on the menu and
finally I scaled the image and saved it.
 With this picture I really wanted all the focus to be on the dog from that I just wanted to keep it simple. I also wanted to focus on the light from the sunset on her face to high-light just one side creating sort of a warm feeling. I also took the picture with that background to have the dog not blend and to draw more attention to her. From the beginning, I cropped the picture on the left side using the crop tool on Photoshop Elements 6. Afterward I went to Create, Artwork, Text, and then selected a font style and font size. Once I was finished I scaled the image and saved it to my computer.
 On this picture I wanted to give make be an absolute winter in my perspective. I also wanted to make it have a cold like feeling. From that I converted the photo to black and white. Then I lightened the photo, by going under "Enhance" using Photoshop Elements 6. Like a few of my photos I really just wanted to keep it basic to match my ideas so I then scaled it & resized it.
